
How to Add Custom Popups to your WordPress Website with Magic Popups
Popups can be useful to promote your new campaign to your visitors or to alert them of some important information regarding your business. Essentially, they're used to display important content that should grab the visitor's attention. However, one must be careful when using popups, since they are often obtrusive, offering a frustrating experience for your visitors.
Magic Popups
We will be using Magic Popups, the WordPress plugin. This plugin will provide us with the functionality needed to add customized popups to our website. The advantages of the Magic Popups plugin are as follows:
- Lightweight and SEO friendly. These popups will not slow down your website.
- Choose how often each visitor sees the pop up (more about this later).
- Choose an opening delay, ensuring your popup does not appear instantly.
- Choose which pages each popup is displayed on.
Installation
The plugin can be installed once you've logged into your WordPress dashboard.
- On the sidebar, navigate to Plugins -> Add New
- Search for 'Magic Popups' and install and activate the plugin.
- Now within the sidebar, navigate to 'Magic Popups'.
Setting up a Popup
Once you've navigated to the Magic Popups page, click the 'Create Popup' button and you will be navigated to a screen where you can configure your popup.
The 'Content' Tab
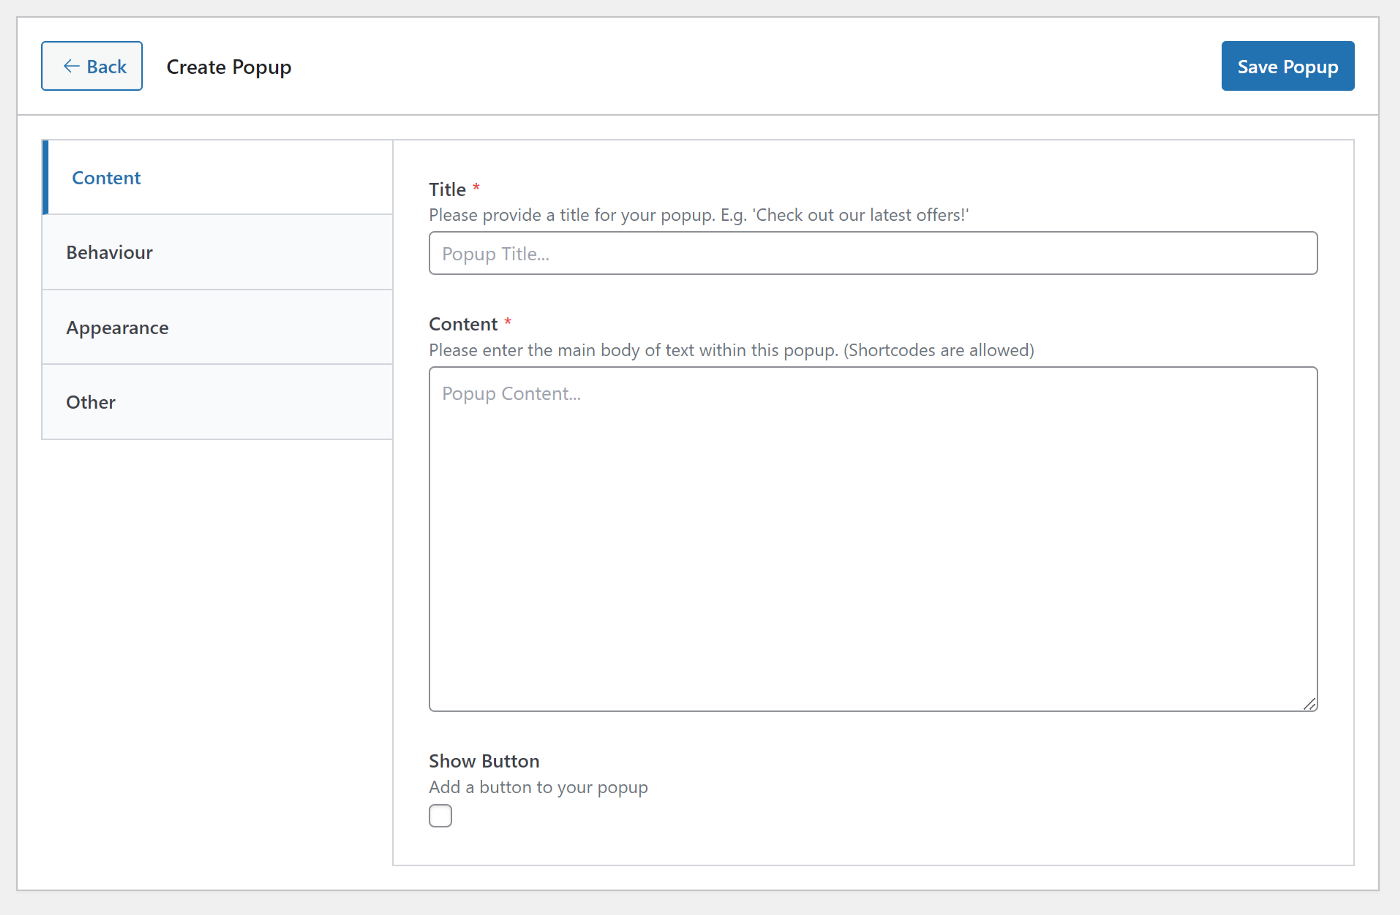
This tab is self-explanatory. You have fields that make up the content of your popup. Furthermore, you can click the 'Show Button' checkbox to add a button to your popup with a label and a URL.
The 'Behaviour' Tab
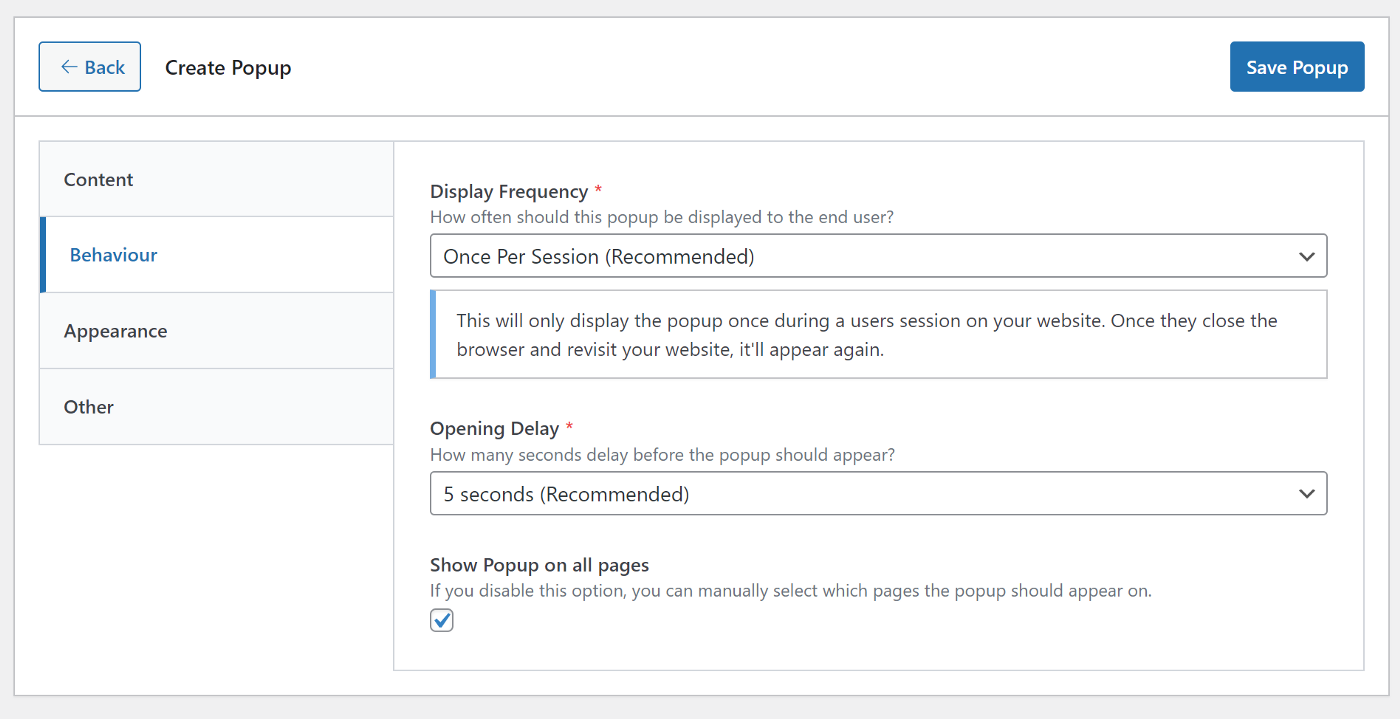
The behaviour tab is important for making our popup as unobtrusive as possible.
- The 'Display Frequency' option will allow us to choose how often each visitor should see this popup. We recommend using the 'Once Per Session' option. This means that the visitor will only see the Popup once while navigating through your site. It'll only appear again once the visitor has closed their browser and opened it again. You may also choose to display the popup once a day or once a week.
- The 'Opening Delay' option allows us to select how many seconds it takes before the Pop up appears. One way to frustrate the visitor is to set this to 1 second since it'll appear almost instantly. We recommend choosing at least 5 seconds, as this will allow the user to scroll partly down your website before being interrupted.
- Finally, you can choose if you wish to display this popup on all pages, or a selected few.
The 'Appearance' Tab
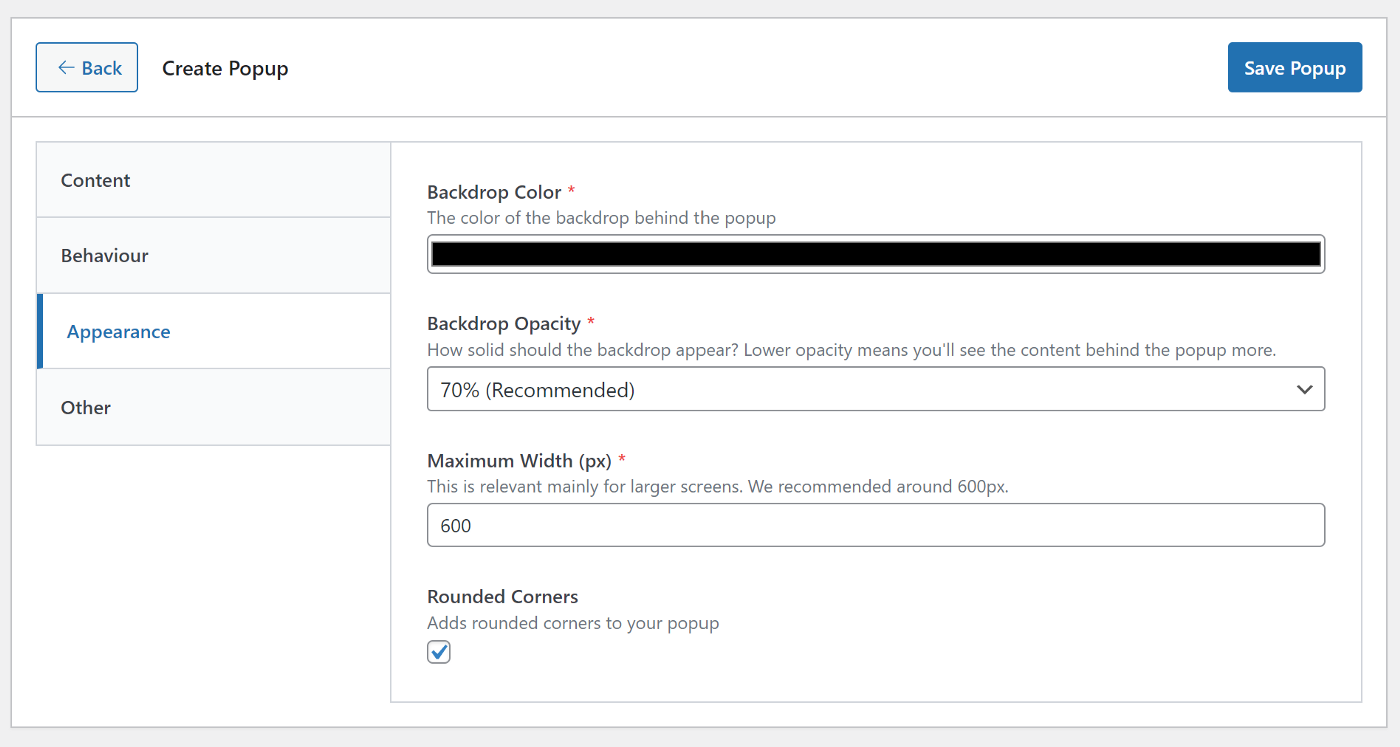
The appearance tab is self-explanatory. Our only recommendation here is that you keep the backdrop colour dark, and the backdrop opacity over 70%. This will ensure the background is properly faded out while your pop is displayed.
The 'Other' Tab

The Other Tab provides additional functionality which mostly involves testing.
- Deactivate. Enable this option if you wish to deactivate your popup without fully deleting it.
- Test Mode. We recommend enabling Test Mode while you configure your popup. This means that while you're logged in, no matter which 'Display Frequency' you've chosen, you will see the popup every time you refresh the page. However, no visitors will see your popup, so make sure you disable this when you've finished testing!
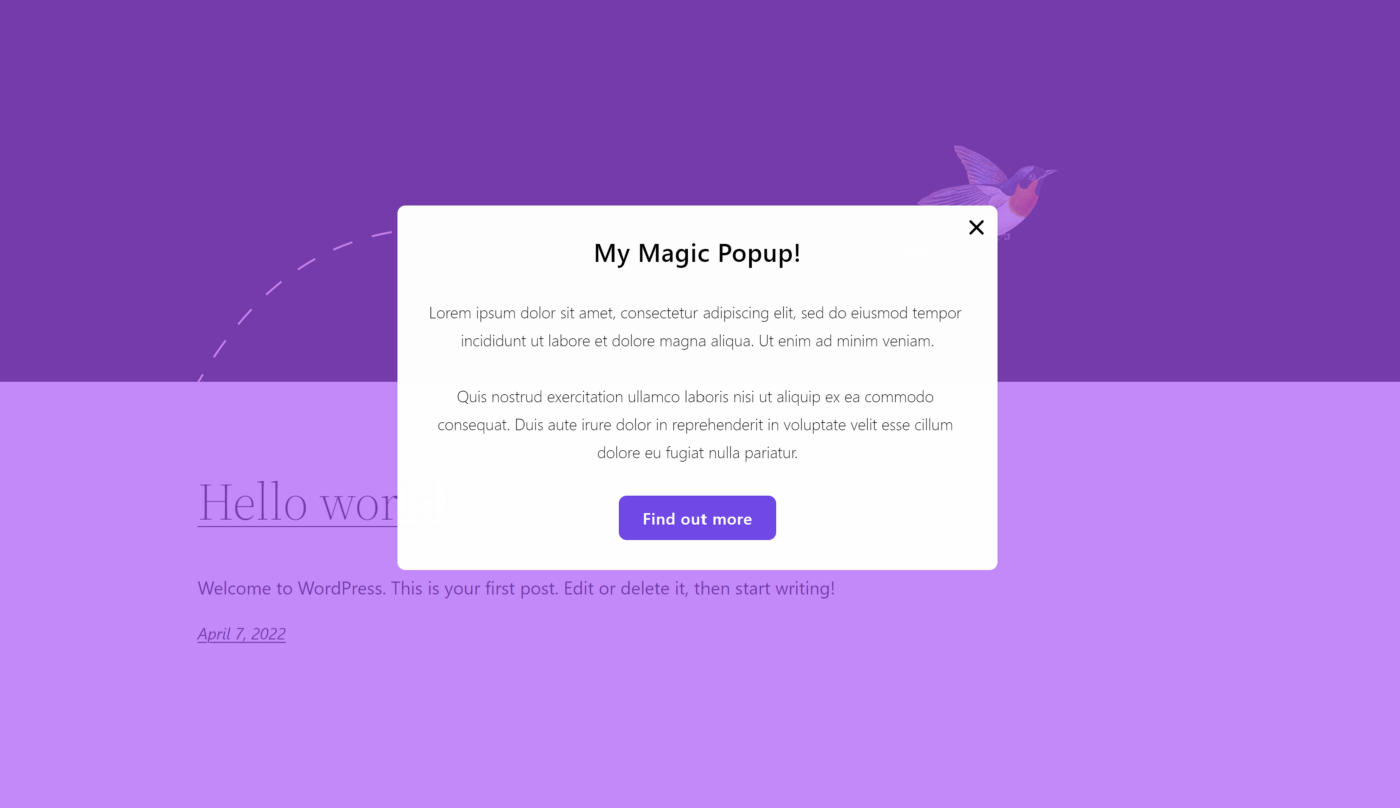
Now you've configured your pop up, don't forget to save your changes! Now you can view your Popup on the front end of your website.
If you've found this tutorial useful, please consider rating the Magic Popups plugin in the WordPress Plugin directory.
Thanks for reading,
Matt.